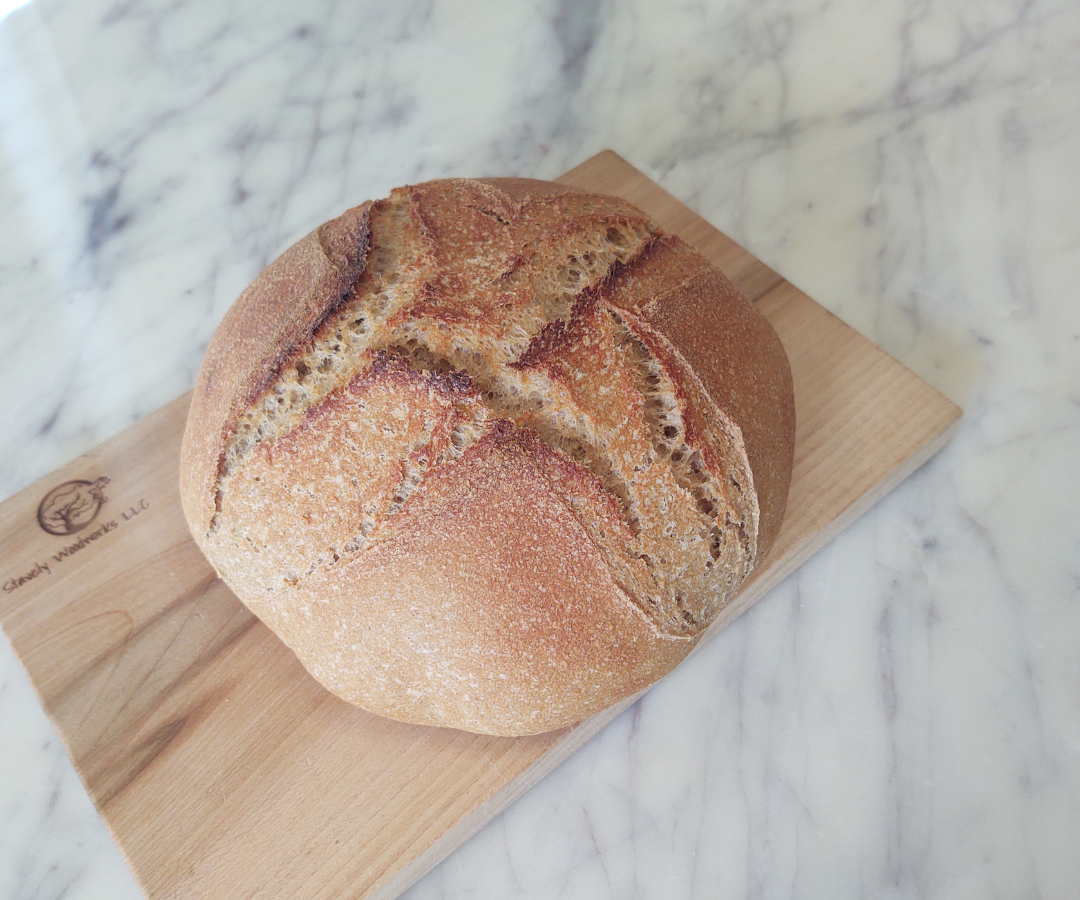
Artisan Sourdough Bread
I often crave a crusty loaf of sourdough bread to dip into soups or slather butter on as a snack. I would make big loafs of bread but it never seemed to get eaten fast enough before it went stale. This loaf of sourdough is a smaller version of those big crusty round artisan sourdough breads. Perfect for small families or someone wanting a smaller fresh loaf every few days. It is relativity simple, tastes amazing, and made with freshly milled flour for much needed vitamins and minerals.
Making anything sourdough generally takes longer than quick breads or yeast breads. This is because the sourdough is the rising agent instead of yeast or baking powder/soda. As time goes on, the sourdough creates a lovely flavor and provides some added probiotic benefits for good gut health and possibly easier for some people to digest. However, if using freshly milled flour, the gut benefits and nutrients are much greater. Sourdough can take anywhere from a few hours to a two day process. It really depends on the temperature of the room and how active the starter is. In this recipe I recommend active and bubbly starter. If needing to know how to make sourdough starter, go to this page. For a strong sourdough flavor, allow for a 2 day process.

Why I mill my own flour
I have been milling my own wheat for awhile now. When I found out about the chemicals and toxins in the store bought flour, I knew I had to make a big change. Thankfully the processes of milling flour is easy. Only one more step was added to my baking steps. Freshly milled flour has more nutrients and minerals than the flour from the store. This is because, when milling flour, the flour looses its nutrients from oxidization. Oxidization is a normal process food goes through. Think about a banana turning brown or an apple turning brown after being cut, the same thing happens for grain when being cut or milled. After about 3 days the flour has lost nearly all of its nutrients and can even become rancid.
A long time ago, people wanted to make flour available to everyone easily at a store. These people knew the flour would spoil after three days. So they invented a steal rolling mill to separate out the bran and germ, which contains natural oil that spoils the flour, from the endosperm. This was a miracle at the time as the flour was now able to store for a long time. Many years go by and we now know that the endosperm contains mostly starch and lacks almost all of nutrients wheat was to contain. By digesting the store flour, people now have gluten intolerance, cancers and diseases that were never around 130 years ago. Thankfully when you freshly mill flour and bake it, most nutrients will stay intact.
For more information, go to the deception of flour page.
How to Make Artisan Sourdough Bread
When I make sourdough bread, I start the day before. I will get up in the morning or early after noon, take the sourdough starter out of the fridge, add some flour and water, and mix well with a rubber spatula to make it active and bubbly. After a few hours it will be ready to use. On hot summer days it may only take an hour or two to be ready. One way to test to see if its active is by taking a small piece and floating it on water. If it floats, its active.
Now that the starter is active and ready, its time to mix the ingredients. I use a large bowl with a kitchen scale most of the time. The only ingredients I use for the dough is sourdough starter, freshly milled hard wheat flour, filtered water, and sea salt.
Day One
First add to the bowl 100g of active sourdough starter. I use the same rubber spatula I mixed the starter with unless I'm planning on making other breads that day.
Add 325g of filtered water and mix until the starter is well blended into the water.
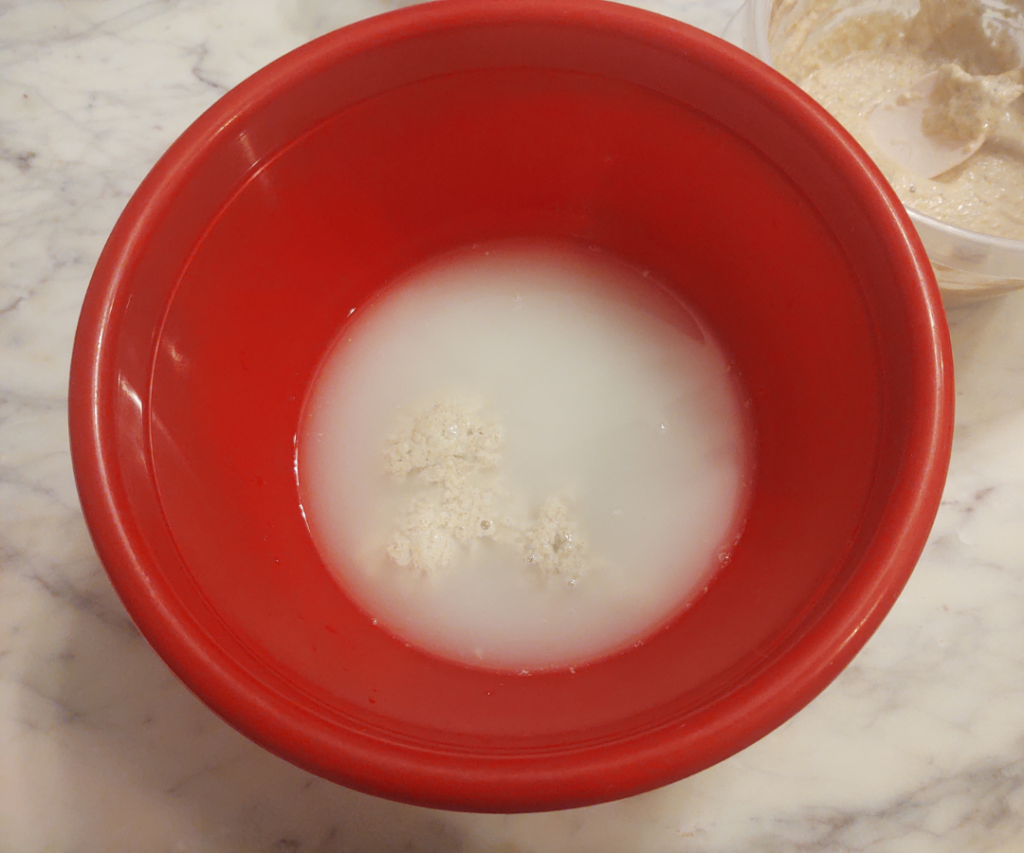
Add 10g of salt and mix in.
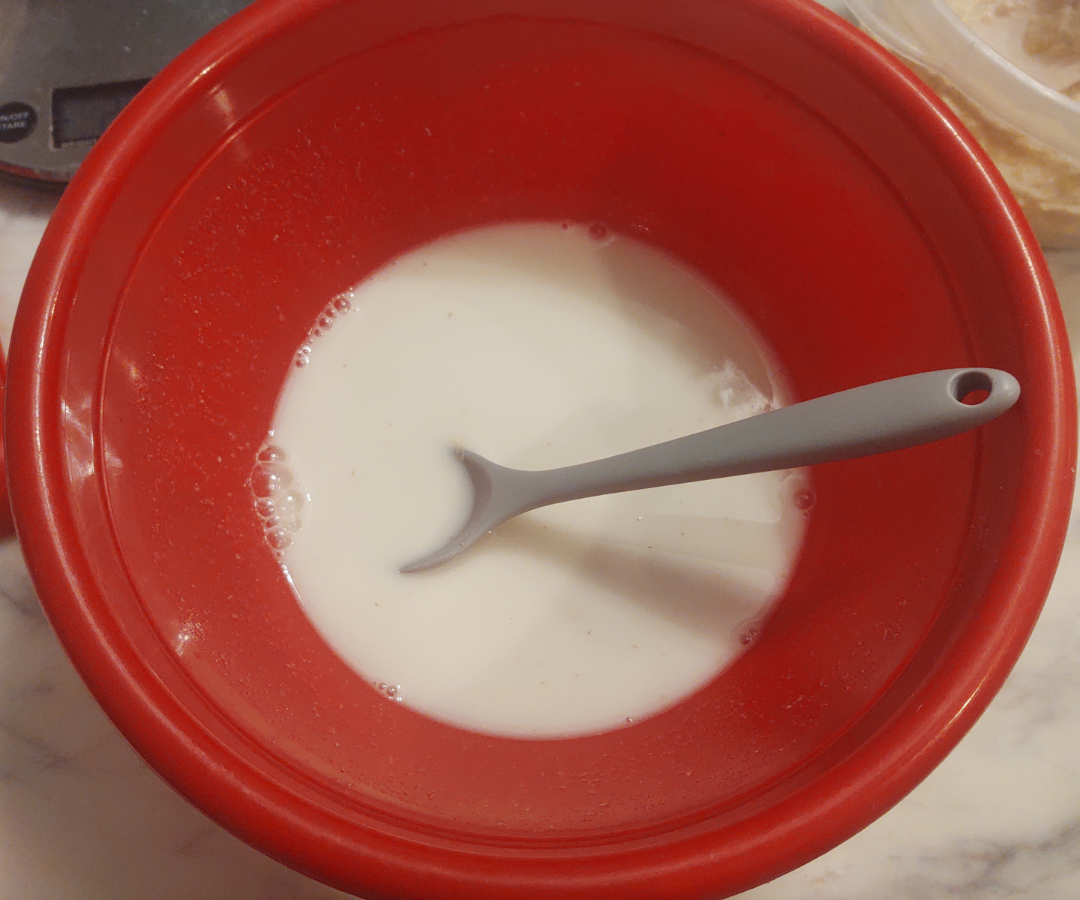
Mill 475g of hard wheat berries on the finest setting. Or measure out 475 grams of pre-milled flour.
Add all the flour to the liquid. Mix until combined.
To see what grain mill I use and how to mill wheat berries, visit Milling Wheat Berries.
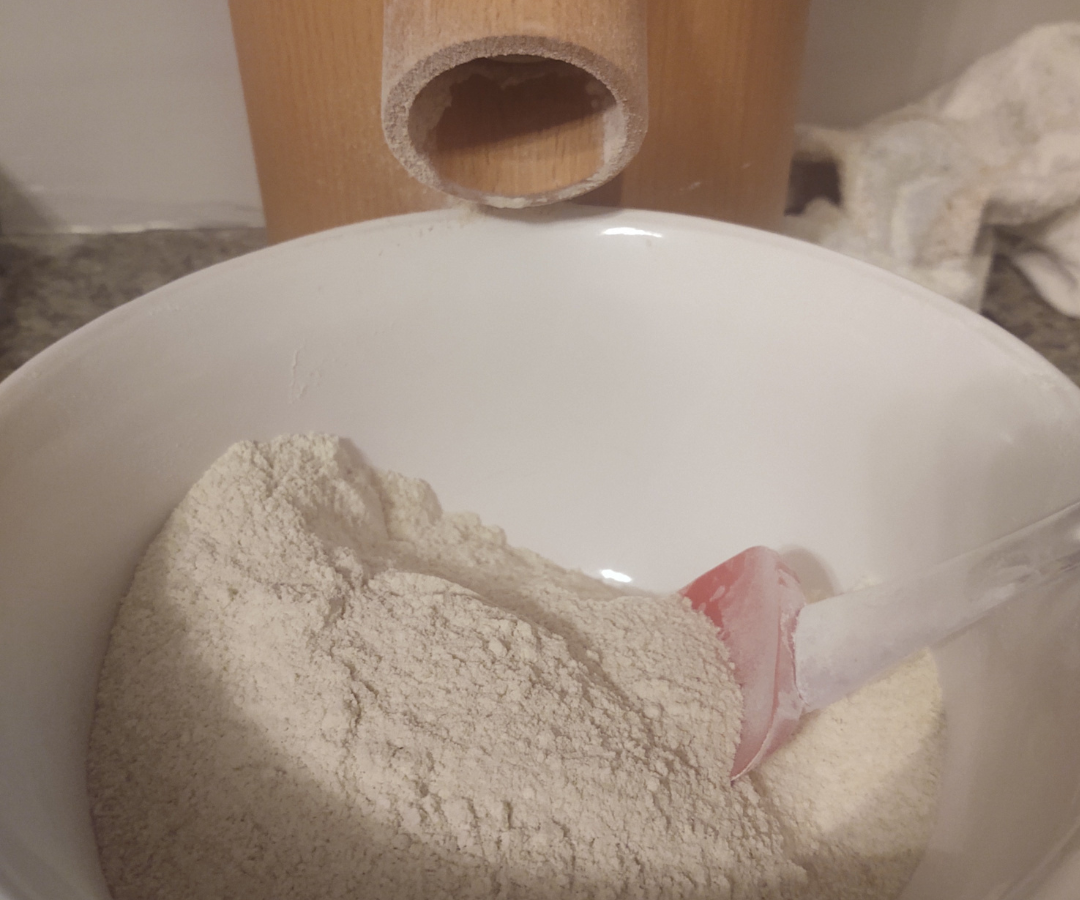

After hydrating, I will combine the dough using the stretch and fold method.
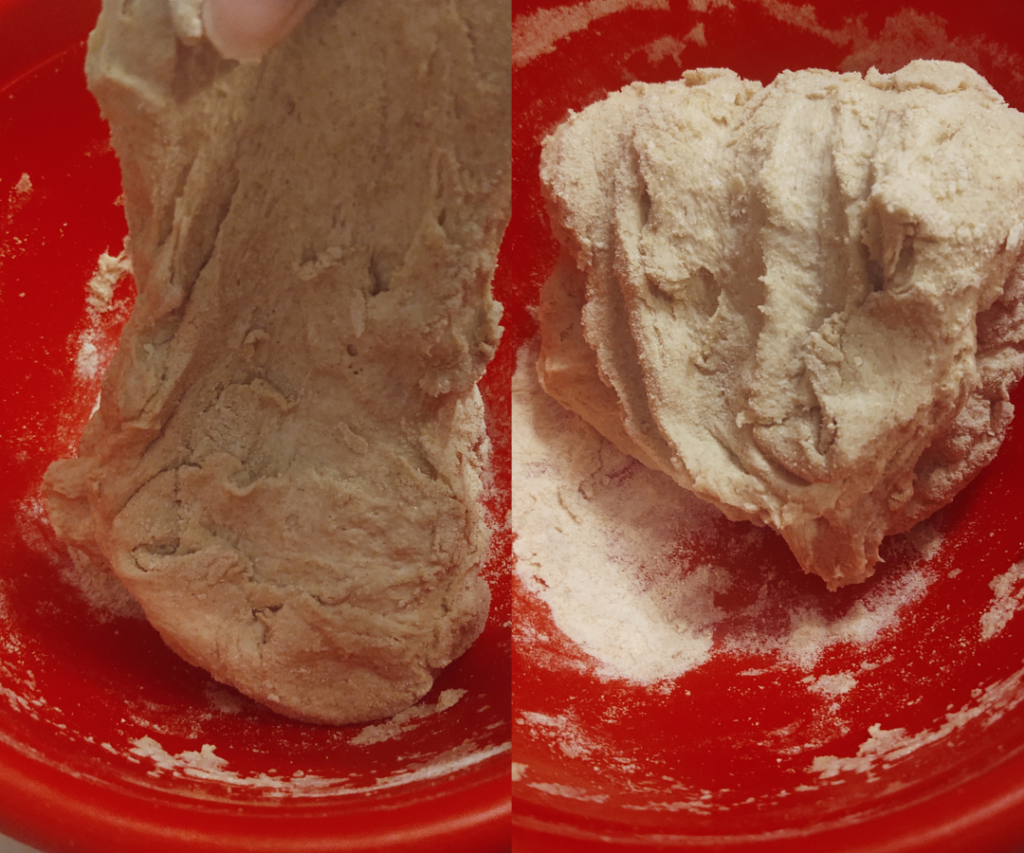
This means I will pull up one side of the dough and stretch it up about 12 inches, then fold it back over on top of itself. I go around the dough 4 times to complete one round of stretch and folds.
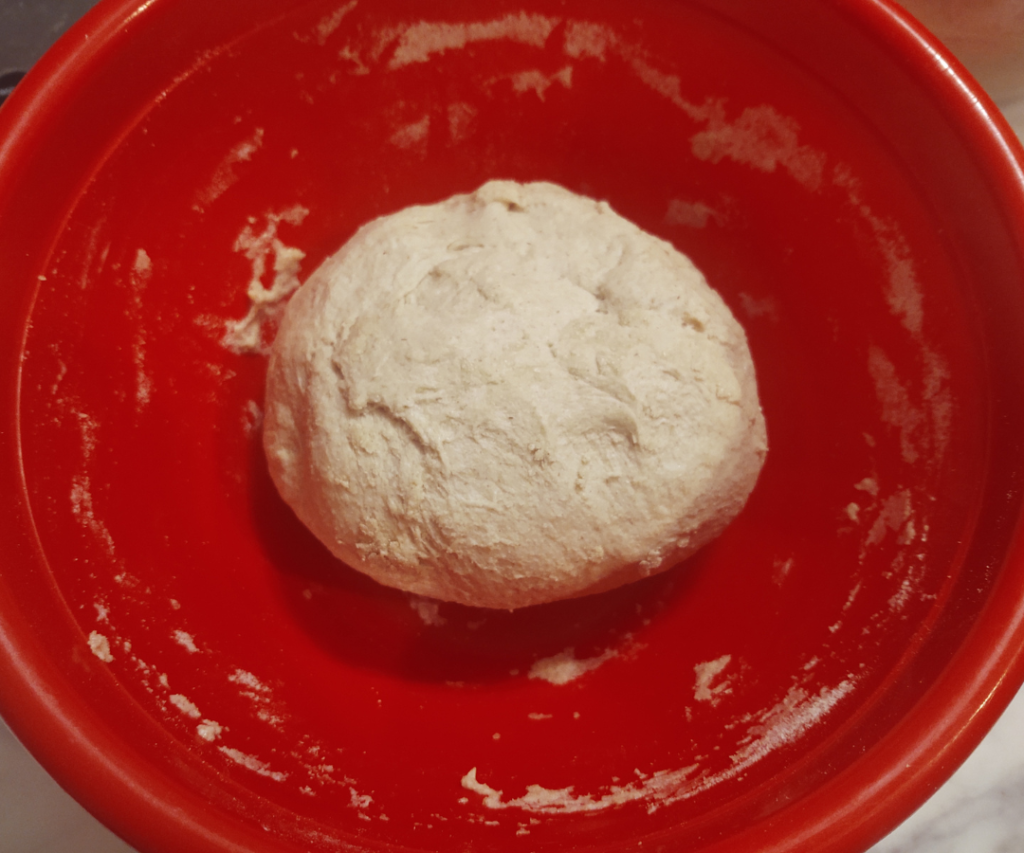
I cover and come back every once in a while to complete more stretch and folds. For purpose of simplicity, complete these stretches 6 times within 3 hours, aiming for more stretching at the beginning of the time allotted.
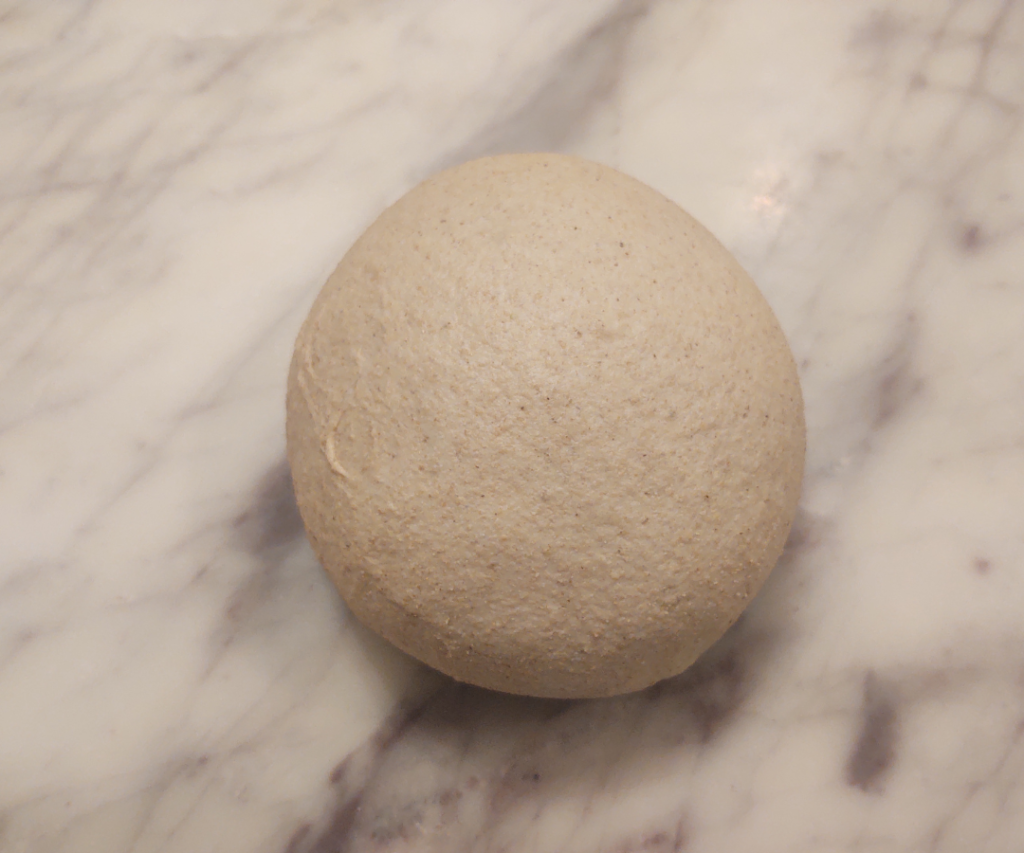
Once dough is smooth and glossy, take the dough and form a ball.

Place the ball in a bowl lined with a tea towel with the seem facing up.
Cover and let rise. Keep in mind the shape of your bowl will show after the rising process.
In a cold kitchen, it may rise from 8pm to 8am the next morning. While a warm kitchen it could rise in a few hours. If wanting a strong flavor, continue the fermenting process in the refrigerator until the morning after the initial rise.
Day Two
The next day, in the morning, preheat the oven at 475 degrees with a Dutch oven pot inside. I use a 5 quart Lodge Cast Iron Dutch Oven.
Allow the pot to warm up for about an hour.
Sometimes I will have a baking sheet or cast iron pan filled with water below the pot to create more steam. The steam causes a nice crusty loaf.

Next, lay down a piece of parchment paper. Carefully flip the sourdough onto the paper aiming for the center. Try not to deflate the beautiful ball of dough.
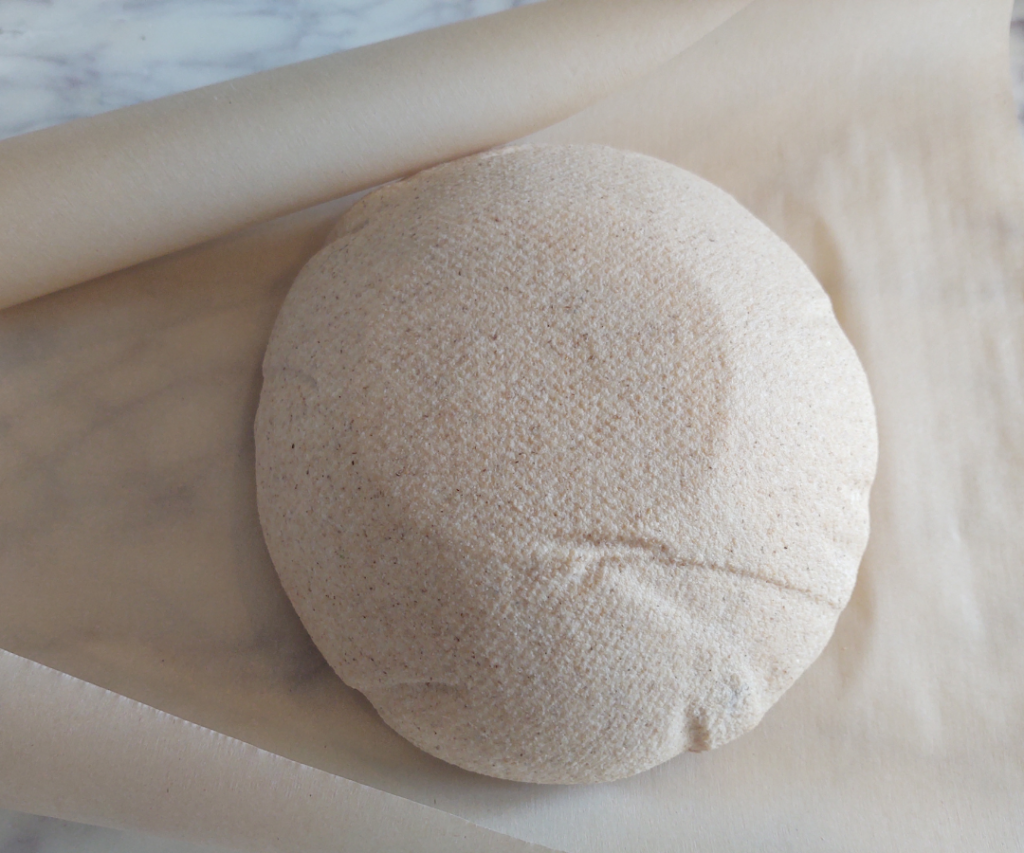
Using a sharp knife, cut at least one mark on the top of the dough.
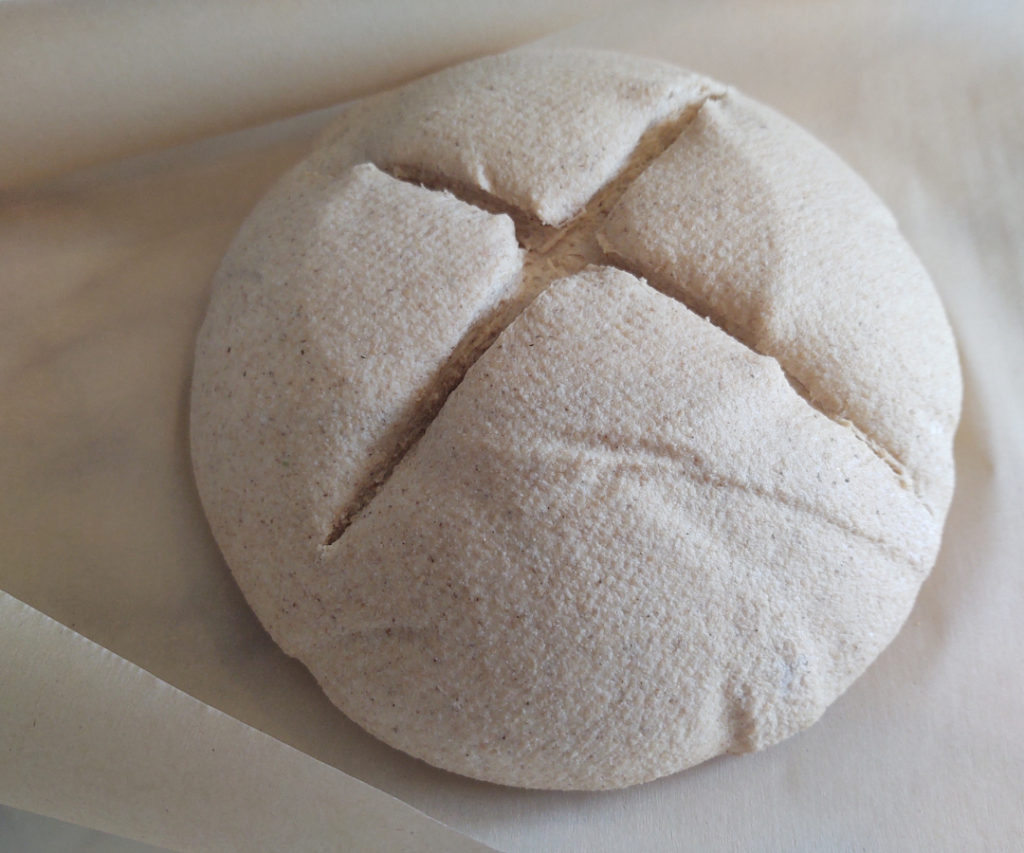
Very carefully pull the Dutch oven pot out of the oven and take off the lid.
Using the parchment paper as a transferring basket, place the paper and sourdough into the pot.

Put the lid back on and place the pot back into the oven.
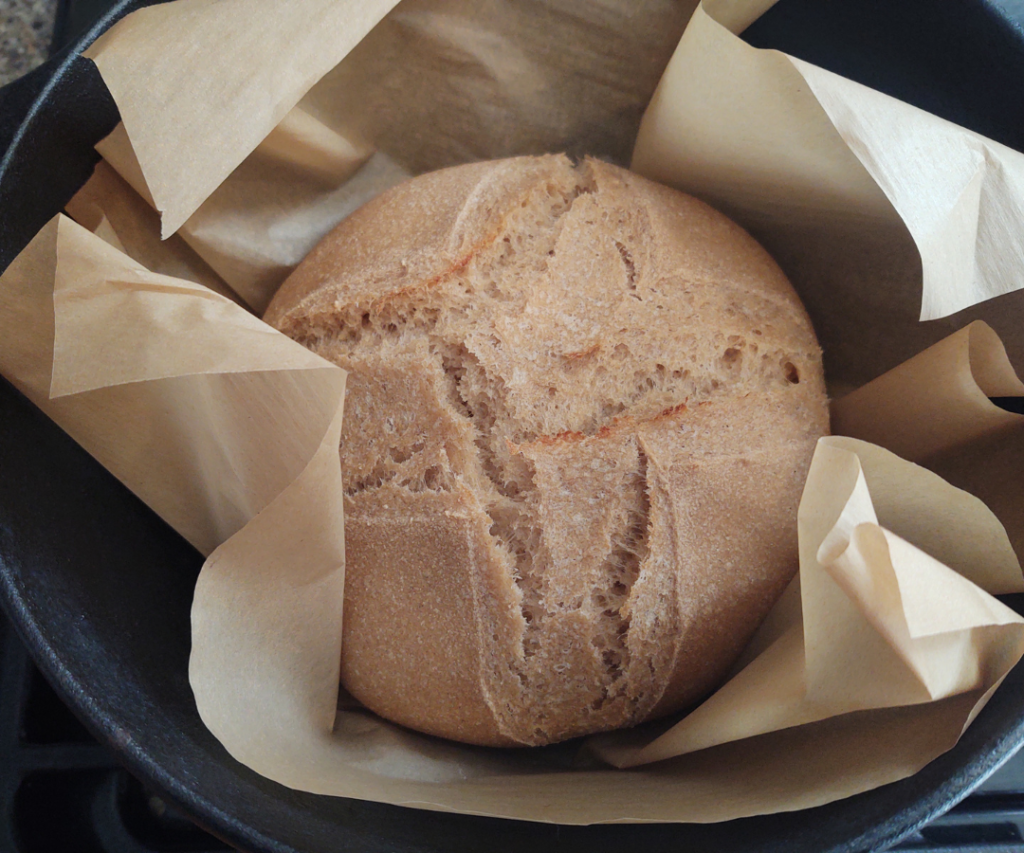
Bake for 20 minutes with the lid on.
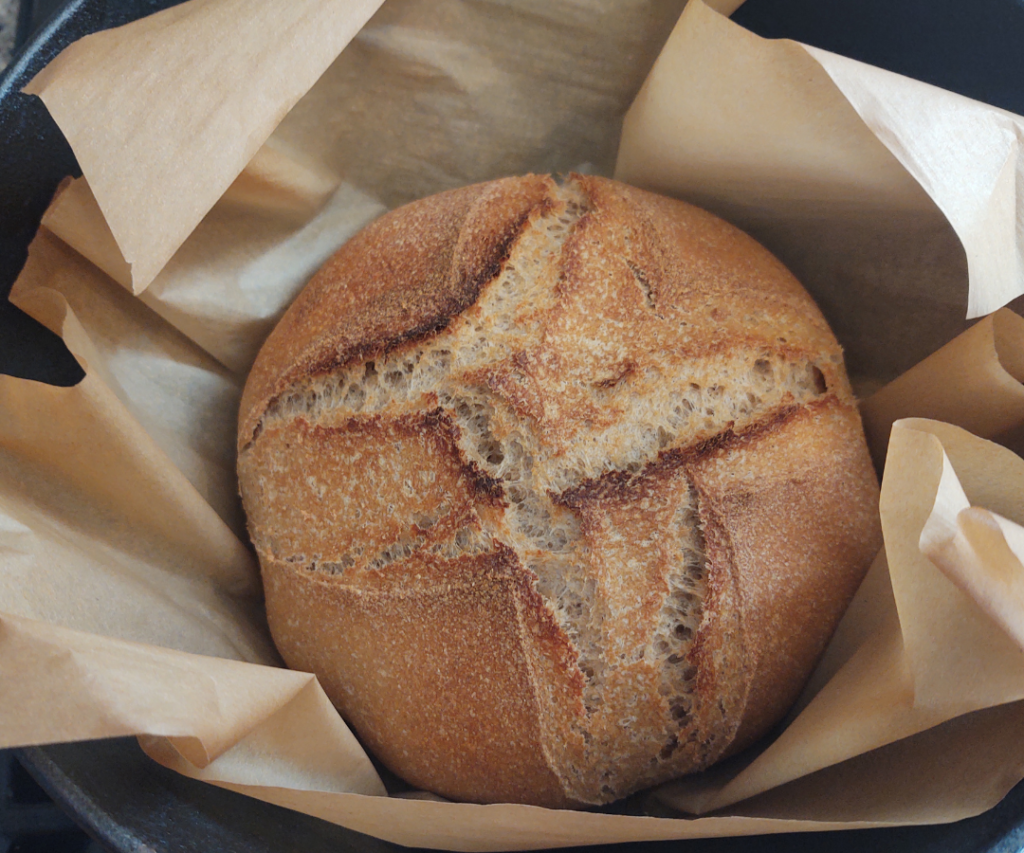
Then 10-20 minutes with the lid off.
After loaf is golden brown and crusty, remove from the oven.

Allow the artisan sourdough bread to cool completely before cutting.
Store in a bread bag or an airtight container.
Print Recipe
Artisan Sourdough Bread
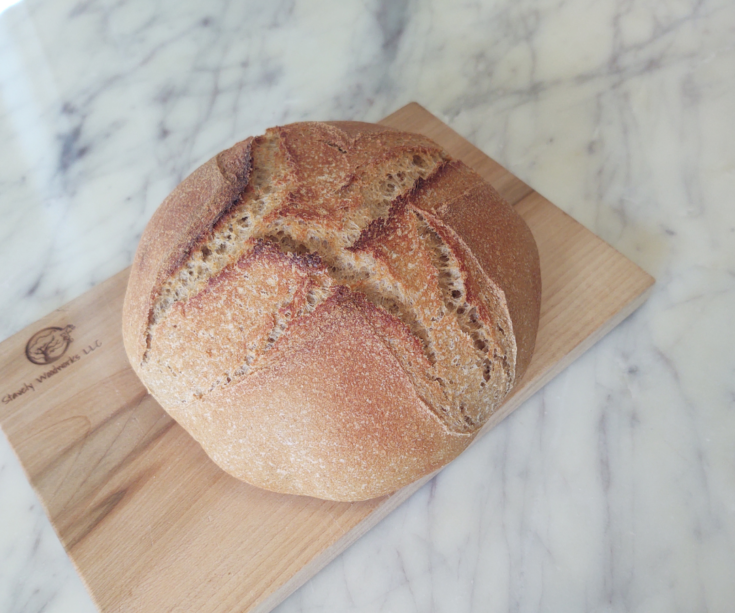
Crusty round loaf of sourdough bread with a chewy inside.
Ingredients
- 100 grams of active aourdough starter
- 325 grams of filtered water
- 10 grams of salt
- 475 grams of freshly milled flour
Instructions
- In a large mixing bowl, add 100g of active sourdough starter.
- Add 325g of filtered water and mix until the starter is well blended into the water.
- Add 10g of salt and mix in.
- Mill 475g of hard wheat berries on the finest setting.
- Add all the flour to the liquid. Mix until combined. It will look lumpy and not at all like dough yet.
- Cover and let rest for 30 minutes. This time allows the flour to hydrate.
- After hydrating, I will combine the dough using the stretch and fold method instead of kneading. This means I will pull up one side of the dough and stretch it up about 12 inches, then fold it back over on top of itself. I go around the dough 4 times to complete one round of stretch and folds. I cover and come back every once in a while to complete more stretch and folds.
- For purpose of simplicity, complete these stretches 6 times within 3 hours, aiming for more stretching at the beginning of the time allotted.
- Once dough is smooth and glossy, take the dough and form a ball. Try to create tension and a tight ball.
- Place the ball in a bowl lined with a tea towel with the seem facing up.
- Cover and let rise. In a cold kitchen, it may rise from 8pm to 8am the next morning. While in a warm kitchen, it could rise in a few hours. If wanting a strong flavor, continue the fermenting process in the refrigerator until the morning after the initial rise if in a warm kitchen.
- The next day, in the morning, preheat the oven at 475 degrees with a Dutch oven pot inside.
- Allow the pot to warm up for about an hour. Sometimes I will have a baking sheet or cast iron pan filled with water below the pot to create more steam. The steam causes a nice crusty loaf.
- Next, lay down a piece of parchment paper.
- Carefully flip over the sourdough onto the parchment paper aiming for the center. Try not to deflate the beautiful ball of dough.
- Using a sharp knife, cut at least one mark on the top of the dough.
- Very carefully pull the Dutch oven pot out of the oven and take off the lid.
- Using the parchment paper as a transferring basket, place the paper and sourdough into the pot.
- Put the lid back on and place the pot back into the oven,
- Bake for 20 minutes with the lid on, then 10-20 minutes with the lid off.
- After loaf is golden brown and crusty, remove from the oven.
- Allow the artisan sourdough bread to cool completely before cutting.
- Store in a bread bag or an airtight container.
Amazon Storefront
Wondering what I use at the homestead? I have created a storefront to show some of the items I buy from Amazon and use. I earn a small commission if you buy from my storefront. CLICK THIS LINK.


You May Also Like

Sourdough Cinnamon Rolls

Blueberry Muffins made with soft white wheat
